Teaching a Pomsky to Be Brushed
Oh, the sheer joy (and sometimes sheer terror!) of grooming a Pomsky. If you've ever found yourself in a wrestling match with a fluffy, stubborn ball of energy just to get a brush through their magnificent coat, you are absolutely not alone. Many Pomsky parents quickly discover that while their furry friend inherited the stunning looks of a Siberian Husky and the charming sass of a Pomeranian, they also got a double coat that sheds like a champ and an opinionated personality when it comes to being handled. This guide is here to help you navigate those brushing battles, transforming them into bonding moments, and teaching your Pomsky to actually enjoy, or at least tolerate, their essential grooming sessions.
Understanding the Pomsky Coat and Grooming Needs
Let's face it, one of the biggest draws of a Pomsky is that breathtaking coat. Whether it's the more Husky-like sleekness or the fluffier Pomeranian resemblance, it's almost always a double coat. And with that gorgeous fur comes a responsibility that many first-time Pomsky owners, myself included, underestimate. It's not just about keeping them looking pretty; it's about their health and comfort.
The Double Coat Dilemma: Why Brushing is Non-Negotiable
A Pomsky's double coat is truly a marvel of nature, designed to protect them from both extreme cold and heat. It consists of two layers: a soft, dense undercoat that provides insulation, and a longer, coarser outer coat (guard hairs) that protects against elements like water and dirt. This dual-layer system is incredibly effective, but it also means serious shedding, especially during seasonal "blowouts." The Pomsky That Carries a Husky Coat at Twenty Pounds is a prime example of the kind of magnificent fur we're talking about, and it demands diligent care.
Without regular brushing, that dense undercoat can quickly become matted and tangled. Mats aren't just unsightly; they're a serious health concern. They pull on the skin, causing pain and discomfort, and can lead to skin irritations, infections, and hot spots because air can't circulate properly. Imagine wearing a tight, tangled sweater that's constantly tugging at your skin – that's how uncomfortable matting can be for your Pomsky. Beyond preventing mats, brushing distributes natural oils, keeping their skin healthy and their coat shiny. It also helps remove loose fur, reducing the amount that ends up on your furniture and clothes, which is a win for everyone in the household.
Common Grooming Challenges with Pomskies
So, why do so many Pomskies act like you're trying to perform ancient torture rituals when you approach them with a brush? There are several reasons. For starters, many Pomskies inherit the independent, sometimes stubborn, streak of their Husky ancestors. They have their own ideas about what they want to do, and sitting still for a brush might not be high on that list. On the Pomeranian side, some are simply sensitive little souls who find the sensation of brushing, particularly the tugging on mats, genuinely uncomfortable or even frightening.
Another common issue is a lack of early positive exposure. If brushing sessions have always been a battle, full of restraint and discomfort, your Pomsky has likely formed a strong negative association. They might have had a bad experience with a brush that pulled their fur, or maybe they just don't like being handled in certain ways, like having their paws or tail touched. Whether a Pomsky Bites the Groomer speaks to the resistance some dogs show, and often, this starts with fear or discomfort during routine handling. Their natural instinct is to squirm away, mouth, or even snap to communicate their displeasure, making the whole process even more challenging for both of you.
Gathering Your Pomsky Grooming Toolkit
Before you even think about starting a brushing session, you need to ensure you have the right tools. Trying to brush a double-coated Pomsky with a flimsy comb or the wrong type of brush is like trying to rake leaves with a spoon – ineffective and frustrating for everyone involved. Investing in good quality tools is not just a luxury; it's a necessity for their comfort and your sanity.
Essential Brushes and Combs for a Double Coat
For a Pomsky's double coat, you can't just pick up any old brush. You need tools specifically designed to tackle both the dense undercoat and the longer guard hairs.
- Undercoat Rake: This is your best friend during shedding season, and truly, all year round. An undercoat rake has long, widely spaced teeth designed to penetrate the topcoat and pull out loose undercoat without damaging the guard hairs. The Undercoat Rake a Pomsky Owner Lives With is a crucial tool. It's fantastic for getting out those clumps of fur that get trapped close to the skin. Look for one with rotating teeth, as they can be gentler and prevent tugging.
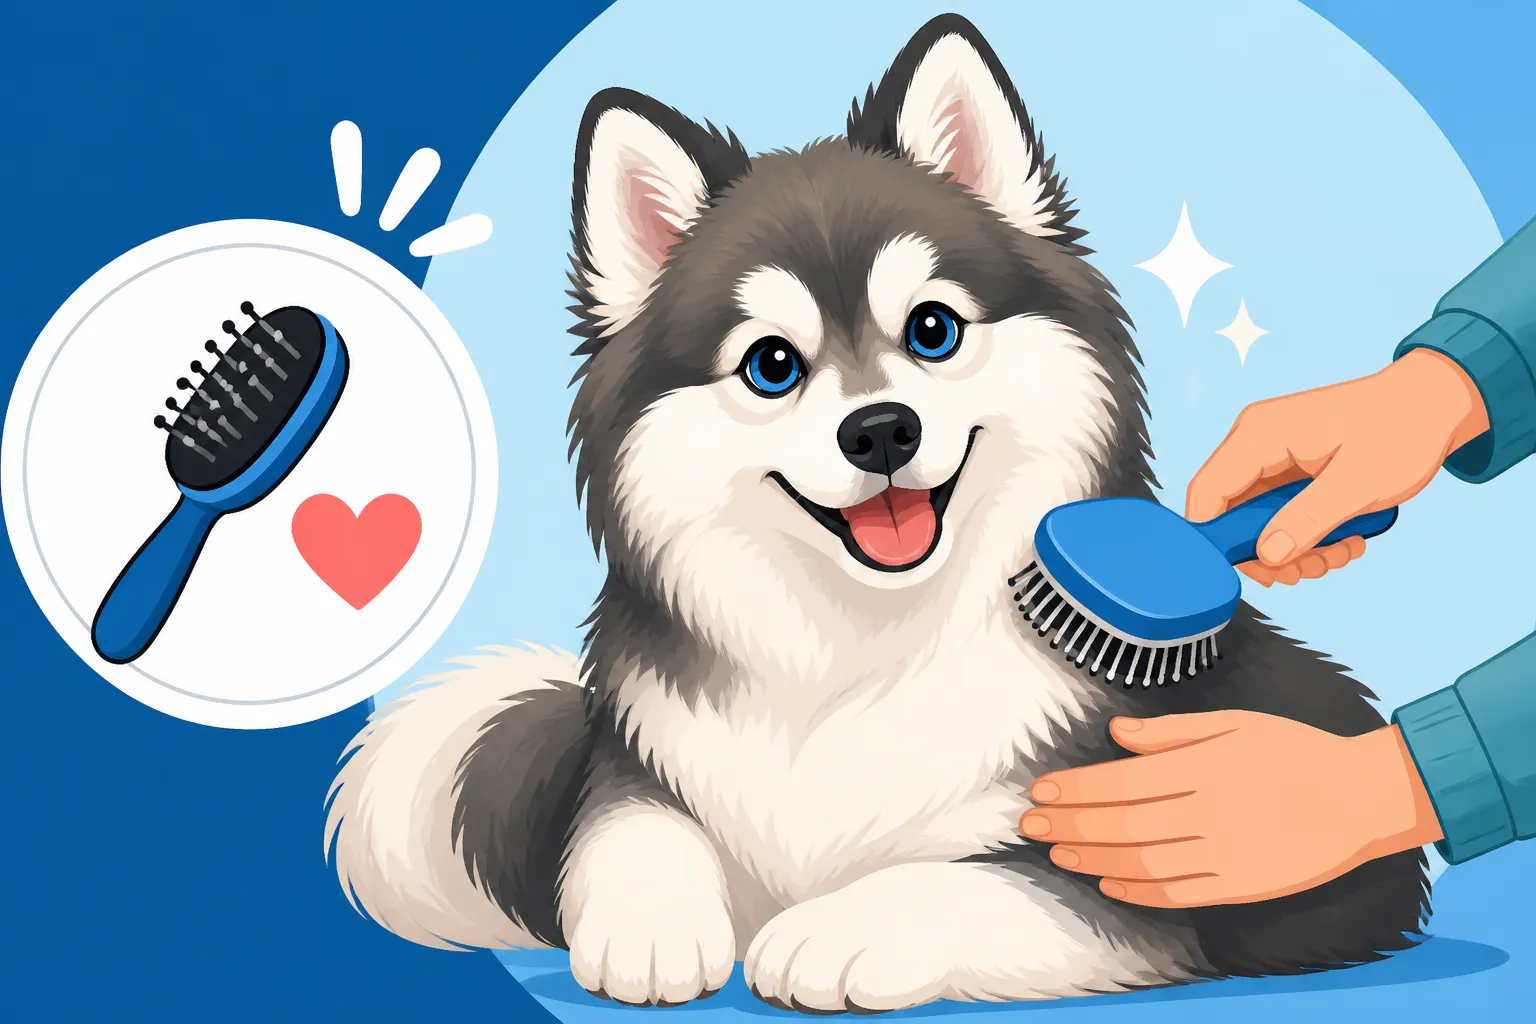
- Slicker Brush: A slicker brush has fine, short wires packed closely together on a flat or curved surface. These are excellent for removing loose hair from the topcoat, detangling smaller knots, and smoothing the fur. They're great for general brushing and making the coat look tidy. Be gentle, though, as the wire bristles can scratch the skin if used too harshly.
- Metal Comb (Greyhound Comb): A good quality metal comb with both wide and fine teeth is indispensable for checking your work and tackling smaller tangles. Use the wide-toothed side first, then the finer side. This is especially good for areas prone to matting, like behind the ears, armpits, and britches. It helps you ensure you've gotten all the loose undercoat out that the rake or slicker might have missed.
You can find all these essential tools on popular online marketplaces like Amazon, which often have a wide selection of reputable brands. Look for ergonomic handles that are comfortable for you to hold during longer grooming sessions.
Supplementary Tools for a Smoother Experience
Beyond the core brushes, a few other items can significantly improve your grooming experience and make it more comfortable for your Pomsky.
- High-Velocity Dryer: If you're serious about at-home grooming, especially during a coat blowout, a high-velocity dryer is a game-changer. These aren't like human hair dryers; they produce a powerful stream of cool air that literally blasts loose undercoat out of the dense fur. This can drastically reduce shedding and prevent matting. It also cuts drying time significantly after a bath, which is vital for preventing skin issues in a double-coated dog.
- Non-Slip Mat: Whether you're grooming on a table, the floor, or a counter, a non-slip mat provides stability and confidence for your Pomsky. If they feel unstable, they're more likely to squirm and resist.
- Grooming Table (Optional but Recommended): A dedicated grooming table, even a small, portable one, can elevate your Pomsky to a comfortable working height, saving your back and helping them understand that this is a specific activity. It can also help them focus, as they learn that the grooming table means grooming time.
- High-Value Treats: These are non-negotiable! The best tool for teaching your Pomsky to enjoy brushing is positive reinforcement. Stock up on their absolute favorite treats – tiny, soft, and super tasty ones that they only get during grooming sessions.
- Calming Aids: For particularly anxious Pomskies, discuss with your vet whether natural calming supplements or pheromone sprays could help create a more relaxed atmosphere. Never use sedatives without professional veterinary guidance.
Remember, the goal is to make grooming a positive, low-stress experience. Having the right tools and knowing how to use them gently will set you up for success.
Starting Early: Puppy Grooming Socialization
If you have the immense joy of bringing home a Pomsky puppy, you're at a huge advantage. The younger your Pomsky is when you introduce them to grooming, the easier it will be to build positive associations and establish a routine. Think of it like teaching a child to enjoy brushing their teeth – the earlier, the better.
The Importance of Early Introduction
Puppies, especially between 8 and 16 weeks, are in a critical socialization period. During this time, they are more open to new experiences, sights, sounds, and sensations. Anything introduced positively and gently during this window is more likely to be accepted as a normal part of life. If you wait until your Pomsky is six months or a year old and already matted, you've missed a golden opportunity, and the resistance will be significantly higher. How Early a Pomsky Should Meet a Groomer isn't just about their first professional haircut; it's about introducing all aspects of grooming from day one.
Starting early means that by the time your Pomsky enters their first "coat blow" (which can be quite dramatic!), they'll already be accustomed to the feel of brushes and combs. It means less stress for them, and less fur for you to contend with on your clothes and furniture. It's about setting them up for a lifetime of comfortable, manageable grooming, whether you do it yourself or they visit a professional.
Puppy Steps: Gentle Touch and Positive Reinforcement
With a puppy, your initial sessions aren't about getting every last bit of loose hair. They're about creating a happy, non-threatening experience.
- Start with Handling: Before even bringing out a brush, simply practice handling your puppy's body. Touch their paws, ears, tail, and muzzle gently. Lift their lips to check their teeth. Praise and reward with tiny, high-value treats for every moment of calm acceptance. This builds trust and gets them used to being touched all over.
- Introduce the Brush: Let your puppy sniff and investigate the brush. Put a treat on it. Don't force them.
- Short, Sweet Sessions: Begin with incredibly short sessions, perhaps just 30-60 seconds, once or twice a day. Use a soft slicker brush or a rubber grooming mitt, as these are less intimidating. Gently brush a small, non-sensitive area, like their back or shoulder.
- Praise and Reward Extravagantly: As soon as you brush once or twice, stop, praise lavishly, and give a treat. The moment of relief (when you stop brushing) should always be associated with something wonderful (the treat). This is the core of positive reinforcement. You want them to think, "Oh, brushing means I get yummy snacks!"
- Gradual Increase: Slowly, over days and weeks, you can increase the duration of the sessions and the areas you brush. Always aim to stop before your puppy gets squirmy or frustrated. You want to end on a positive note. For ideas on specific areas, Getting a Pomsky Used to the Undercoat Rake offers great insights, even if your puppy doesn't need heavy raking yet. It's about getting them used to the idea of the tool.
Building Positive Associations with Brushing
The key to successful grooming with any dog, but especially a smart, opinionated Pomsky, is to make it a positive experience. You want them to see the brush and think "yay, treats!" not "oh no, a battle!" This takes patience, consistency, and a whole lot of delicious rewards.
The Treat-and-Retreat Method
This method is incredibly effective for dogs who are hesitant or even fearful of grooming. It's all about breaking down the intimidating task into tiny, manageable steps and rewarding success at each stage.
- Bring out the Tools: Simply show your Pomsky the brush or comb. If they look at it calmly, reward them. Don't even touch them with it yet. Repeat this a few times until they associate the sight of the tool with good things.
- Touch and Treat: Gently touch the brush to a non-sensitive part of their body (like their shoulder or flank) for just a second. Immediately remove the brush and give a high-value treat and praise. Repeat this many times. The goal is for them to realize that the brush touching them predicts a treat.
- One Stroke, Then Treat: Once they are comfortable with the touch, try one gentle stroke. Immediately stop, praise, and treat. The crucial part here is the "retreat" – you stop the brushing action and reward. This teaches them that even if they find the sensation a little strange, it will end quickly and they'll get a reward.
- Gradually Increase Duration: Slowly build up to two strokes, then three, always stopping to treat and praise. Pay attention to your Pomsky's body language. If they start to get stiff, pull away, or show any signs of discomfort, you've gone too far, too fast. Dial it back. The session length here might only be a few minutes, spread out throughout the day.
- Use a Grooming Mat: A specific mat, like one from a brand you can find on Amazon, placed in a designated grooming spot, can also help create a routine. They'll learn that when they're on the mat, good things (treats!) happen during grooming. Many online training resources, including platforms like BAXTER & Bella, advocate for these positive, incremental training methods to build confidence and cooperation.
Creating a Calm and Safe Grooming Environment
The environment where you groom plays a massive role in your Pomsky's willingness to cooperate. A chaotic, noisy, or slippery space will only heighten their anxiety and make them more resistant.
- Choose a Quiet Spot: Find a calm, low-traffic area in your home where you won't be interrupted. Turn off the TV, put away distractions, and focus solely on your Pomsky.
- Ensure a Non-Slip Surface: Whether it's on the floor or a grooming table, always use a non-slip mat. A wobbly, unstable surface can be terrifying for a dog, especially a small one like a Pomsky. Feeling secure is paramount to their cooperation.
- Positive Energy from You: Your attitude is contagious. If you're stressed, frustrated, or rushing, your Pomsky will pick up on that energy and become stressed too. Approach grooming sessions with a calm, patient, and positive demeanor. Use a happy, reassuring tone of voice.
- Consistency is Comfort: Try to groom your Pomsky in the same spot at roughly the same time each day (or week, depending on your schedule). Routine provides comfort and predictability, which helps reduce anxiety. They'll learn what to expect.
- Avoid Force: Never try to physically overpower your Pomsky. If they're genuinely distressed, stop and re-evaluate your approach. Forcing them will only break trust and make future sessions even harder. A good analogy is like trying to convince a child to eat vegetables by pinning them down – it rarely ends well for anyone. It's much better to teach them Teaching a Pomsky to Lie for a Deshedding Session through positive reinforcement than through force.
By consistently applying these methods, you're not just brushing your dog; you're building a stronger bond based on trust and positive experiences.
Step-by-Step Brushing Techniques for a Resistant Pomsky
Once your Pomsky understands that brushing can be a positive experience (thanks to all those treats!), you can start to implement more thorough brushing techniques. Even with a good foundation, some Pomskies will still have their moments, and knowing how to approach sensitive areas and potential mats is crucial.
Desensitization and Counter-Conditioning
This is where you systematically introduce the tools and sensations of brushing in a way that helps your Pomsky overcome any fear or aversion.
- Start with Gentle Touch: Always begin by petting and praising your Pomsky. Let them relax in your presence. Then, slowly introduce the brush by just touching it to their body without any brushing motion. Treat.
- Focus on Less Sensitive Areas First: Begin brushing in areas where they are least likely to resist, such as their shoulders, back, or flanks. These spots are generally less sensitive and don't usually harbor deep mats. Keep strokes short and light.
- Gradually Increase Pressure and Duration: As your Pomsky tolerates it, slowly increase the length of your strokes and the very gentle pressure you apply. Continue to praise and treat generously for every moment of calm.
- Work in Sections: Instead of trying to brush their entire body at once, break it down into small sections. For example, focus on one side of their back, then the other. Later, move to their chest, then one leg, then the next. This makes the task less overwhelming for them and for you.
- Introduce New Tools Slowly: Once they are comfortable with a slicker brush, gradually introduce the undercoat rake. Allow them to sniff it, touch them with it, then do a single gentle stroke in a non-sensitive area, always following with a treat. Getting a Pomsky Used to the Undercoat Rake is a specific challenge that requires this kind of patient, step-by-step approach.
The key is to always watch their body language. If they stiffen, pull away, or become agitated, you're moving too fast. Go back to a step where they were comfortable and try again.
Handling Mats and Sensitive Areas
Mats are one of the biggest challenges with a Pomsky's double coat, and they are often the reason dogs develop an aversion to brushing. Approaching them incorrectly can cause pain and instantly erase all your positive training.
- Patience is a Virtue: Mat removal requires immense patience. Never yank or pull at a mat. That will hurt your Pomsky and confirm their worst fears about brushing.
- Locate the Mats: Carefully run your fingers through their coat, especially behind the ears, under the armpits, on their belly, and around their tail and britches – these are common areas for mats to form. Mats behind a Pomsky's ears are common and should be checked regularly.
- Use a Detangling Spray: Before attempting to comb out a mat, generously spray it with a dog-specific detangling spray. Let it soak in for a few minutes. This lubricates the hair and makes it easier to work through. You can find many effective detangling sprays on Amazon.
- Work from the Outside In: Don't try to pull a comb through the entire mat at once. Instead, hold the hair closest to the skin with one hand (this prevents the pulling sensation on the skin) and use the wide-toothed side of your metal comb or a de-matting tool to gently pick at the very edge of the mat, working small strands out at a time. It's like unraveling a tangled ball of yarn, one tiny thread at a time.
- Small Sections, Constant Treats: Work on a mat for only a minute or two, then give a treat and a break. Return to it later. It's much better to spread mat removal over several short sessions than to try and do it all at once and cause pain or stress.
- When to Seek Professional Help: If a mat is very large, tight, or close to the skin, do not try to cut it out yourself with scissors. You can easily cut your dog's skin, which is often paper-thin under a mat. In such cases, a professional groomer or veterinarian can safely shave out the mat. Whether a Pomsky Mats and how severely can vary, but severe matting always warrants professional attention. They have the right tools and expertise to address it safely and humanely.
Troubleshooting Common Brushing Behaviors
Even with the best intentions and the most positive methods, Pomskies can still present a range of behaviors that make grooming tricky. It’s important to understand why they might be acting out and how to address it calmly and effectively.
Dealing with Biting, Nipping, and Growling
If your Pomsky is resorting to growling, nipping, or biting during grooming, it's a clear signal that they are uncomfortable, fearful, or in pain. It's never about being "mean"; it's their way of communicating boundaries.
- Identify the Cause: First, try to pinpoint what triggers the behavior. Is it a specific brush? A certain area being touched? Too much pressure? Too long a session? Fear is a common underlying cause. If you suspect pain (e.g., from a tight mat or sensitive skin), stop immediately and consult your vet.
- Stop Before the Reaction: This is crucial. If you see signs of tension – a stiff body, whale eye (showing the whites of their eyes), lip licking, or a low growl – stop before they escalate to a bite. Retreat, calm them, and try a less intrusive approach. Ending before they react helps prevent them from learning that aggression makes you stop.
- Positive Muzzle Training: For Pomskies who are prone to nipping, consider positively introducing a muzzle. This isn't for punishment; it's a safety tool that allows you to continue gentle training without the risk of being bitten, protecting both you and your dog. Start by putting treats in the muzzle and letting them eat from it, gradually increasing the time they wear it, always associating it with positive things. Never just strap it on and force them to wear it.
- Shorter, More Frequent Sessions: If sustained brushing triggers their frustration, revert to extremely short sessions (15-30 seconds), multiple times a day. Focus on getting just one or two gentle strokes in a non-sensitive area, then reward and release. This helps rebuild their tolerance. Many training protocols, like those found with BAXTER & Bella programs, emphasize breaking down complex tasks into tiny, achievable steps to avoid triggering negative responses.
- Consult a Professional: If the biting or growling is severe or you feel unsafe, seek guidance from a certified professional dog trainer or a veterinary behaviorist. They can assess the underlying issues and provide a tailored plan.
The Wriggly Worm: Handling a Restless Pomsky
Some Pomskies are just naturally fidgety and find it incredibly hard to stay still, even if they aren't actively fearful. They might squirm, roll, or try to escape.
- Exhaust Before Grooming: A tired Pomsky is often a cooperative Pomsky. Take them for a good walk, a play session, or some mental enrichment before you attempt a grooming session. They'll be more inclined to settle down.
- Safe Tethering (with caution): For mild wriggling, a grooming loop on a grooming table (if you have one) or a securely attached leash to an anchor point can help keep them in position. NEVER leave your Pomsky unsupervised when tethered, and ensure it's not pulling uncomfortably. The goal is to gently guide them, not to restrain them forcefully.
- Distraction Techniques: A long-lasting chew, a lick mat smeared with peanut butter (xylitol-free!), or a favorite toy can sometimes distract a restless Pomsky long enough for you to get some brushing done. Ensure the distraction is truly engaging.
- Frequent Breaks: Build in lots of breaks. Brush for a minute, take a 30-second break, give a treat, then resume. Knowing that breaks are coming can help a restless dog cope.
- Reinforce Stillness: Actively reward stillness. If your Pomsky holds still for just a few seconds, mark that moment with "Yes!" and a treat. You're teaching them that being calm and still is what earns them rewards. For dogs that resist being picked up or held, this constant positive reinforcement for being still, even for a moment, can transform the experience.
Remember, consistent positive reinforcement is your most powerful tool. It might take time, especially with an older, more established Pomsky, but patience and understanding will eventually yield results.
Maintaining a Regular Grooming Routine
Once you've put in the hard work of desensitization and positive reinforcement, the key to long-term success with your Pomsky's grooming is consistency. It's much easier to maintain a well-groomed coat than to try and rescue a matted one.
Consistency is Key: Scheduling Brushing Sessions
A Pomsky's double coat is a commitment, not a sporadic chore. Establishing a routine is paramount to preventing mats, managing shedding, and keeping their skin healthy.
- Daily Quick Brushes: Aim for a quick, 5-10 minute brush every day. This doesn't have to be a full deep dive; it's about surface detangling, removing loose hair, and reinforcing positive habits. This helps catch small tangles before they become big mats. A quick run-through with a slicker brush or a metal comb over common matting areas like behind the ears and armpits can save you a lot of headache later.
- Weekly Deeper Sessions: Dedicate one or two longer sessions (20-30 minutes) per week for a more thorough brushing. This is when you'll use your undercoat rake to really get down to the skin and remove any accumulating undercoat. Work through their entire body section by section, ensuring you're reaching all areas.
- During Coat Blows: Increase Frequency: Your Pomsky will typically "blow" their coat twice a year, usually in spring and fall. When a Pomsky Blows Its Coat is when they shed their entire undercoat to prepare for the change in seasons. During these periods, which can last for several weeks, you'll need to increase your brushing frequency significantly – often to daily deep sessions with the undercoat rake and potentially a high-velocity dryer. The amount of fur that comes off can be astonishing, so consistent brushing is vital to prevent massive mats and keep your home from becoming a fur tumbleweed farm. How long a Pomsky's blowout lasts will dictate how long you need to keep up this intense routine.
- Make it a Habit: Integrate brushing into your daily routine, perhaps after their morning walk or before evening cuddle time. The more it becomes a normal, predictable activity, the less resistance you'll encounter.
Professional Grooming vs. At-Home Care
Deciding whether to rely solely on at-home grooming or to incorporate professional groomers is a common question for Pomsky owners. Both have their advantages, and often, a combination works best.
-
Benefits of At-Home Grooming:
- Cost Savings: Professional grooming can be expensive, especially with a double-coated breed that requires frequent attention.
- Bonding: Regular, positive grooming sessions at home strengthen the bond between you and your Pomsky.
- Early Detection: You'll become intimately familiar with your dog's skin and coat, allowing you to spot any lumps, bumps, skin irritations, or parasites early.
- Convenience: You can groom on your own schedule.
-
When to Use a Professional Groomer:
- Difficult Mats: For severe, tight matting that you can't safely untangle yourself, a professional groomer is a lifesaver. They have specialized tools and techniques to remove mats without causing pain or injury.
- Nail Trims: If you're uncomfortable trimming nails or your Pomsky strongly resists, a groomer or vet tech can handle it safely and efficiently.
- Anal Gland Expression: This is a delicate procedure that should only be done by a professional if needed.
- Deep Cleaning and Deshedding Baths: Professional groomers have powerful high-velocity dryers and specialized shampoos that can thoroughly clean and deshed a double coat in a way that's hard to replicate at home. This can be especially helpful during heavy shedding seasons.
- Reinforcing Good Behavior: A good groomer uses positive reinforcement, much like you do at home. Regular visits can help reinforce that grooming is a normal, positive experience, even with a different person.
- Expert Advice: Professional groomers can offer valuable advice on coat care, products, and techniques specific to your Pomsky's coat type.
Many owners opt for routine at-home brushing with professional grooming appointments every 8-12 weeks for a thorough bath, deshedding, and nail trim. This balances cost, convenience, and ensures your Pomsky gets the comprehensive care their beautiful double coat requires.
| Grooming Tool | Primary Use | Benefits | Considerations |
|---|---|---|---|
| Undercoat Rake | Removing loose undercoat, especially during shedding | Penetrates topcoat to pull out dead undercoat; prevents matting | Can be harsh if used improperly; choose rotating teeth |
| Slicker Brush | General brushing, light detangling, smoothing coat | Good for topcoat and smaller knots; leaves coat looking tidy | Use gently to avoid scratching skin with wire bristles |
| Metal Comb | Checking for missed tangles, detailing sensitive areas | Essential for thoroughness; works through smaller knots | Needs patience for knots; use with detangling spray |
| High-Velocity Dryer | Blowing out loose undercoat, drying after baths | Drastically reduces shedding; prevents hot spots, speeds drying | Can be noisy; requires desensitization for some dogs |
| Detangling Spray | Loosening mats and tangles | Makes mat removal less painful; protects coat from breakage | Must be dog-specific and safe if ingested |
| Treats | Positive reinforcement | Builds positive associations; encourages cooperation | Use high-value, small treats; don't overfeed |
Disclaimer
This article is for general informational purposes only and does not constitute professional advice. Laws, prices and regulations vary by location and change over time. Consult a qualified professional for guidance on your specific situation.